Download the app

Click on one of the buttons above to install the app on your device
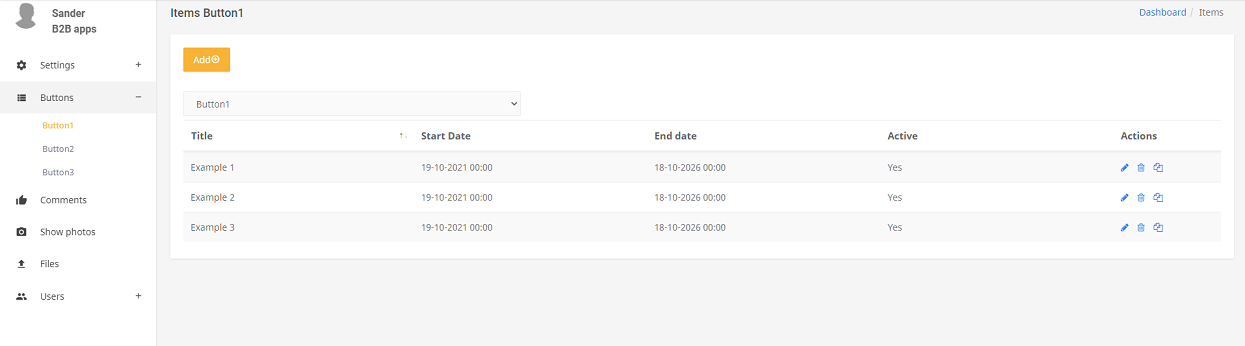
Choose Add button in overview items
Via the menu item: Buttons, choose a button where the message is to be created. In this example, Button 1 is selected. To the right, you can see all the items under Button1.
Titel = Title field (short name of message)
Start date = From which date message should be shown
End date = Date until which message should be shown
Active = Whether message should be shown
Actions = change, delete or copy
Choose the orange button: Add which is shown at the top.
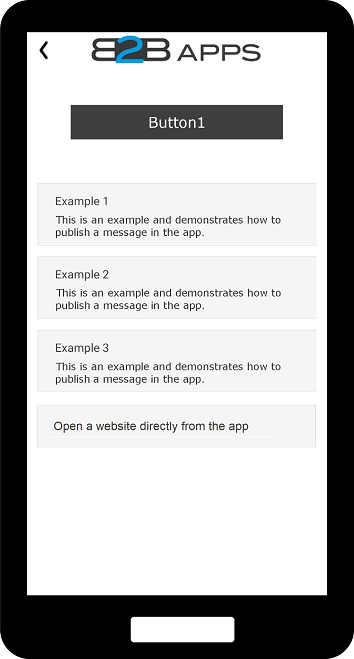
Linking a website to open it from the app
The situation below shows the process of opening/viewing a website from the app. There are two possible situations: the first is to open the website directly, in which case the description is often superfluous. The second situation is to first show the message and offer a button at the bottom to open the website afterwards.
Publish = To show or not to show message
Publish on = Show message from date
End on = Show message up to and including date
Order = what position message should have among other messages
Language = Specific language (selecting another language can change remaining languages)
Title = Title field (short name of message)
Subtitle = Title field (2nd most condensed name of message)
Description = Description field (extended description of message)
Open website = Filling in the website
Button = Fill in the button name, e.g. Open website
Choose the orange button: Add to add a message.

Overview messages
The situation below shows the overview of all messages and the bottom message is the message created to open the website.
Opened website
The situation below shows the situation when the created message is chosen.
